
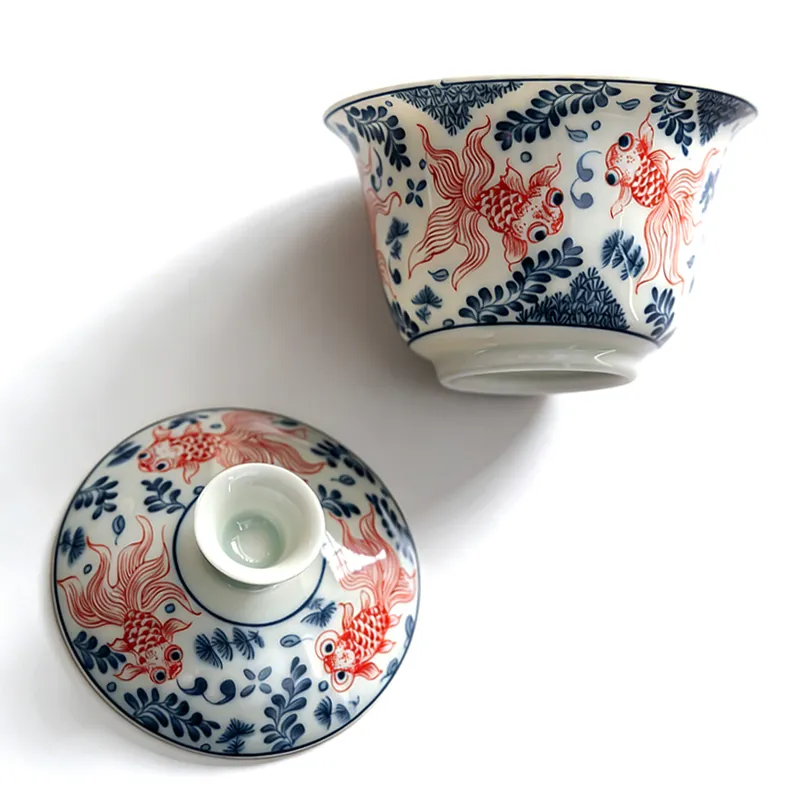
A gaiwan can turn a tea break into a small, attentive ritual. Instead of filling a large pot and walking away, you brew, pour, taste and notice how the next infusion changes. This beginner’s guide explains how to use a gaiwan, what to put beside it and how to start without an elaborate tea table.
What is a gaiwan?
A gaiwan is a lidded bowl used to brew tea. Traditional sets often include a saucer, but configurations vary: check the contents rather than assuming every set includes one. Unlike a teapot, a conventional gaiwan has no spout. You leave a small gap beneath the lid to pour the tea while keeping most leaves in the bowl.
Prepare a simple tea corner
Start with a gaiwan, loose-leaf tea, suitable hot water and a drinking cup. A serving pitcher is useful when sharing; an optional fine strainer can catch small leaf fragments. Set everything on a stable, water-resistant surface with room for your hands.
Choose a bowl you can comfortably grip. Capacity alone does not tell you how it will feel: rim width, shape and your hand size matter too. For more help comparing everyday options, read our guide to choosing a tea set.
How to use a gaiwan, step by step
1. Practise the movement with cool water
Before brewing, practise lifting, tilting and pouring with cool water over a sink. Check that you can keep the lid secure without squeezing the bowl. If the grip feels unstable, choose a more comfortable vessel before trying hot water.
2. Add tea and choose your brewing settings
Use the tea supplier’s gaiwan or gongfu brewing directions as your starting point. Leaf amount, water temperature and infusion time work together; a timing intended for a large mug may not suit a small gaiwan. There is no single temperature or steeping time that suits every tea.
3. Pour water below the rim
Leave space below the rim rather than filling to the brim. Keep fingers away from the hot bowl wall and steam. The lid and knob can also become hot: stop and let the vessel cool if it is uncomfortable to handle.
4. Adjust the lid and pour steadily
Leave a gap wide enough for tea to flow but narrow enough to retain the leaves. A common grip places the thumb and middle finger on opposite sides of the rim, with the index finger securing the lid knob. Keep the pouring edge and steam directed away from your fingers. Decant into a pitcher or a cup with enough room for the infusion.
5. Taste, then brew again
Pour out the brewed tea rather than leaving the leaves sitting in it between rounds. Many loose-leaf teas can provide several infusions. Taste each one and adjust the next steep; stop when the flavour no longer appeals to you. The number of worthwhile infusions depends on the tea and how you brew it.
Brewing alone or sharing with guests
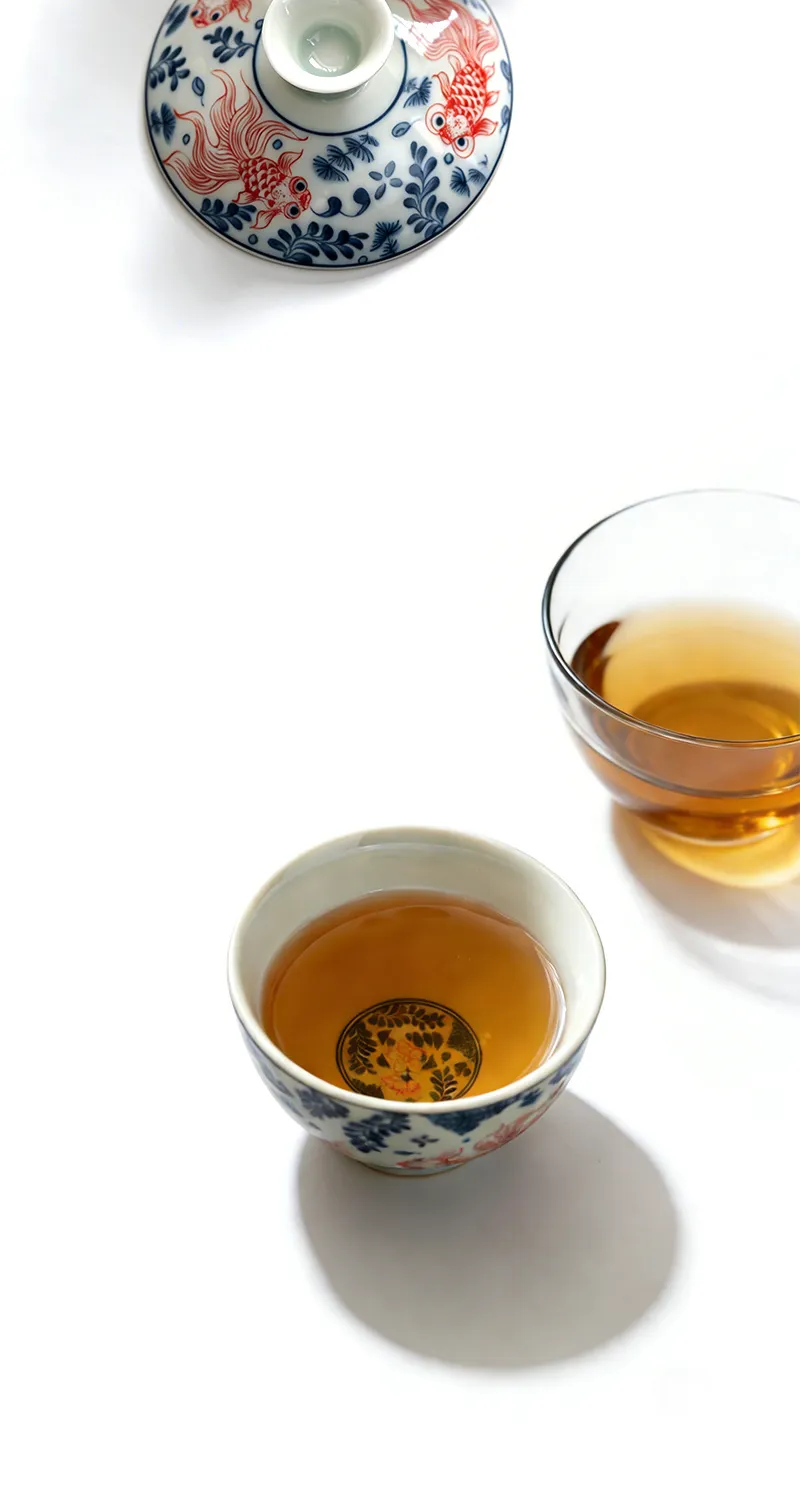
For a compact solo setup, explore our White Porcelain Nesting Gaiwan Set for One, with a 100 mL gaiwan, a nesting tasting cup and a 180 mL glass pitcher.
For a quiet solo session, keep the setup small and give yourself time to taste. For guests, a pitcher makes it easier to divide the same infusion among several cups. You can enjoy the conversation without trying to pour directly from the gaiwan into every cup in turn.
Our Red Koi Gaiwan Tea Set offers a solo configuration with a 130 mL gaiwan and a 135 mL host cup. Sharing configurations add a 200 mL glass pitcher and either one or three 50 mL guest cups. These are approximate supplier-listed capacities; leave headroom when brewing and serving.

Common beginner questions
Which tea should I try first?
Start with a loose-leaf tea you already enjoy and whose brewing instructions you have. Familiar flavour makes it easier to judge your adjustments. If you are still exploring, our simple guide to the six types of Chinese tea introduces the main categories.
Do I need a large tea tray?
No elaborate setup is necessary for learning. A stable surface and a small dish for drips can keep the session manageable. A tray is a convenience, not a reason to postpone your first practice.
What if the tea tastes too strong?
Change one variable at a time. Try a shorter infusion or less leaf in the next session, following the tea’s guidance. Note what you changed so that a good cup is easier to repeat.
Begin with a comfortable grip, a familiar tea and a little patience. The aim is not a perfect performance—it is a tea ritual you enjoy returning to.
Leave a Reply